
Online Store for Nail and Skin Care - Zamberg
While a large number of our customers are indeed nail professionals, we take pride in enabling nail enthusiasts and non-enthusiasts of all levels to experience the same level of quality professional cosmetic tools at 40-60% off retail pricing.
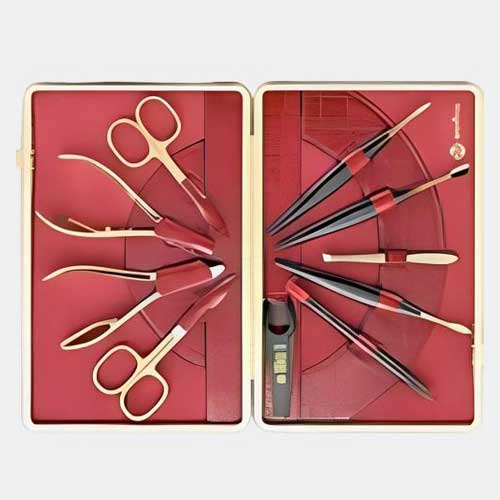
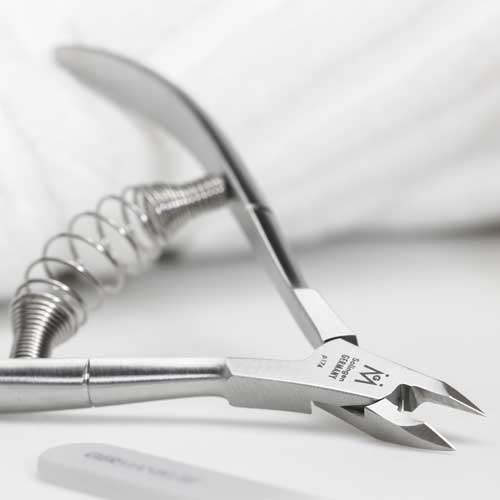
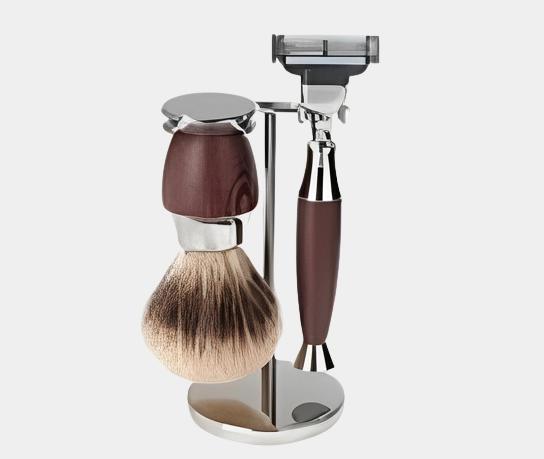
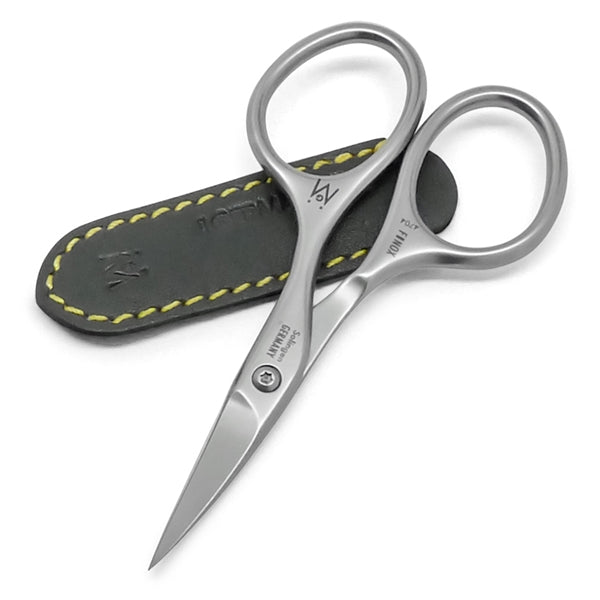
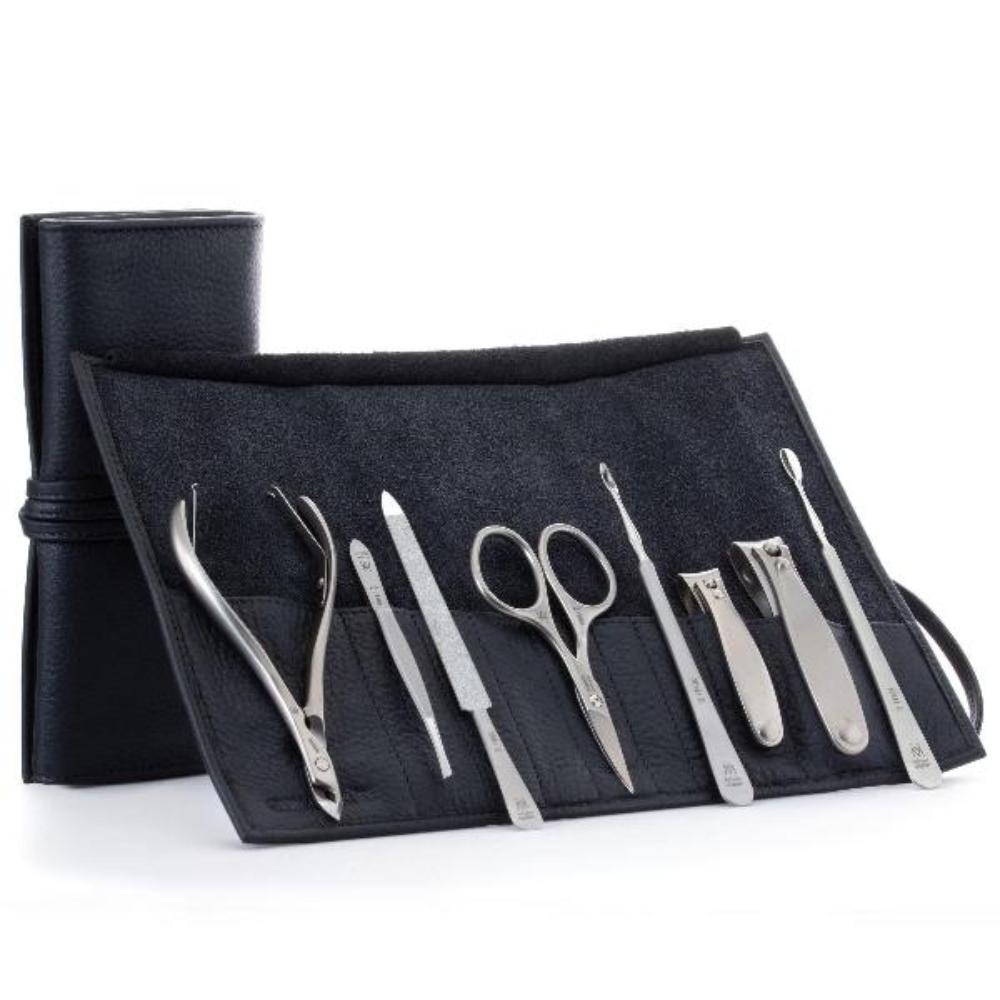
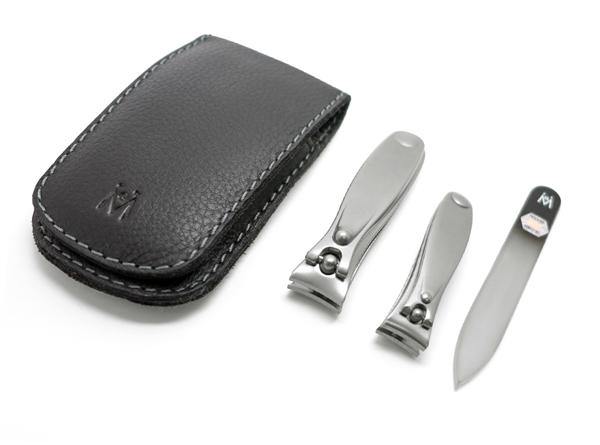
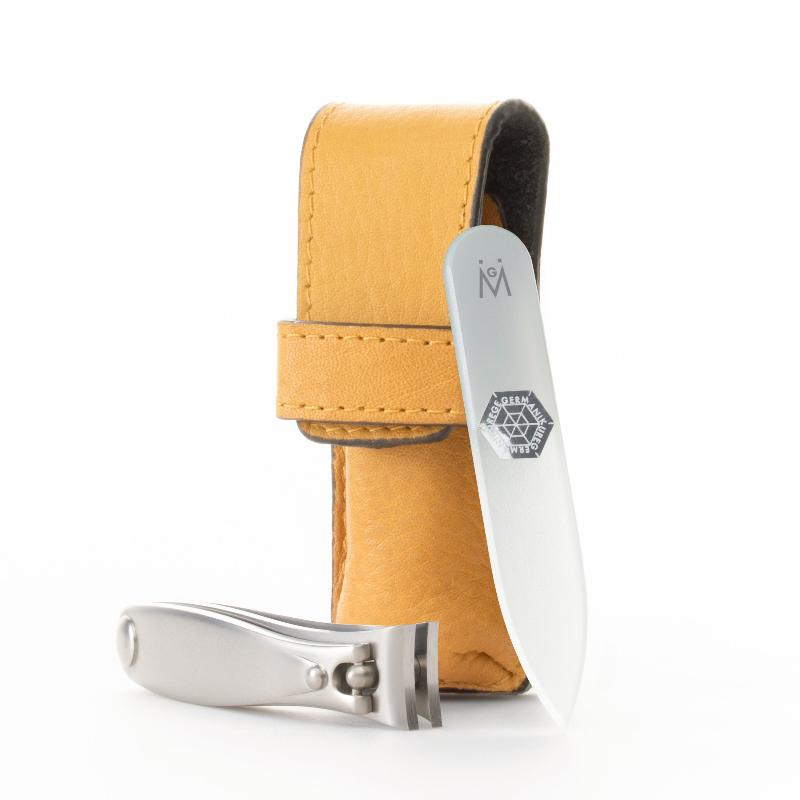
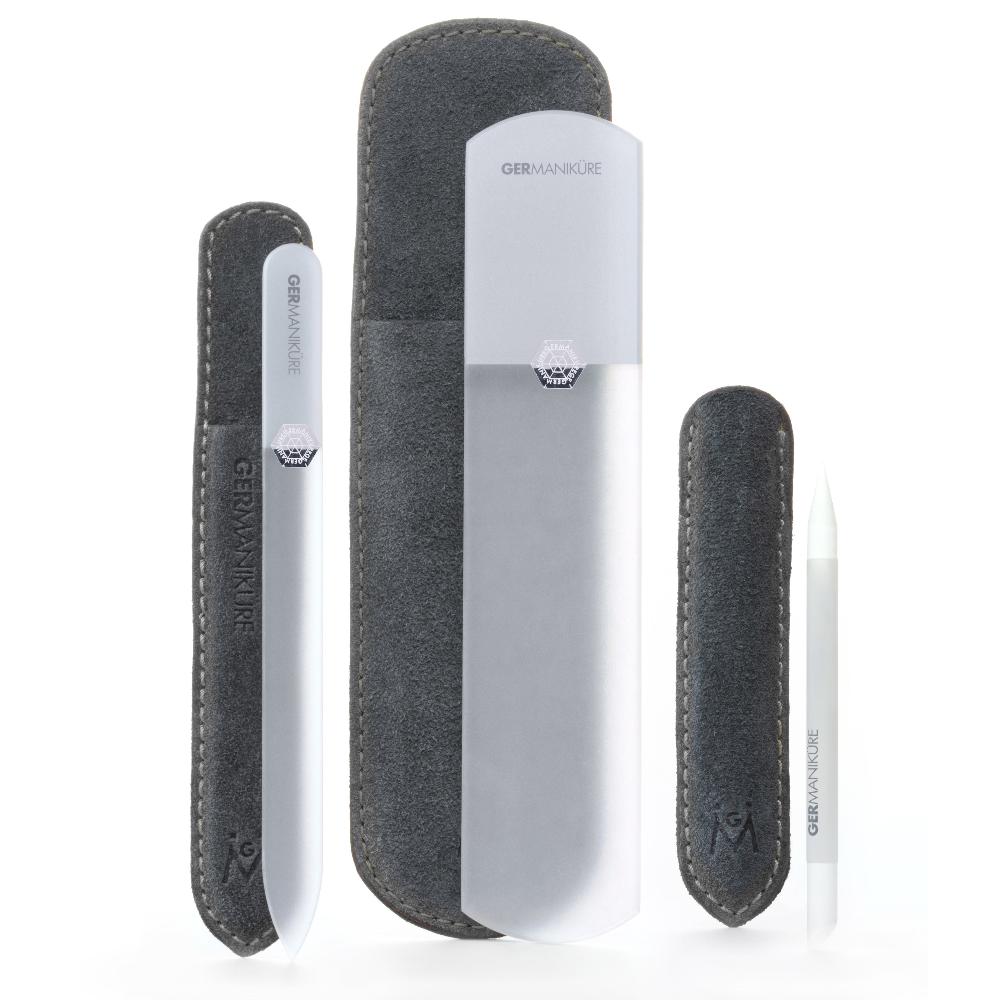
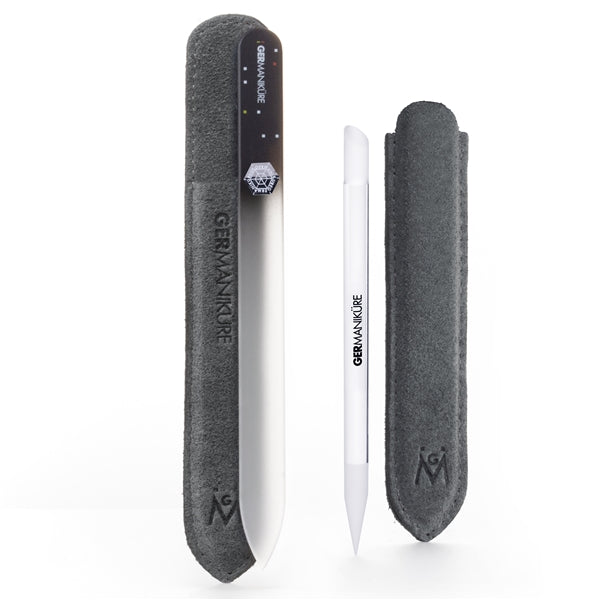
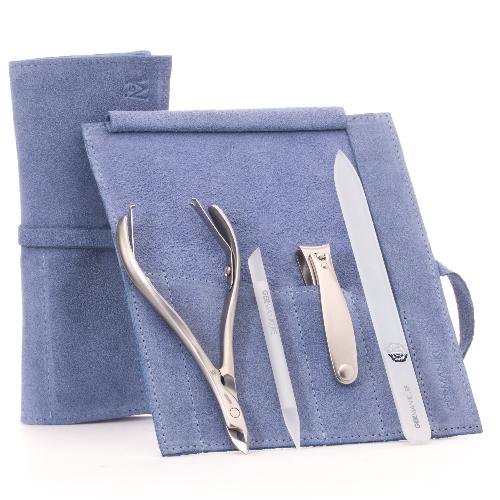
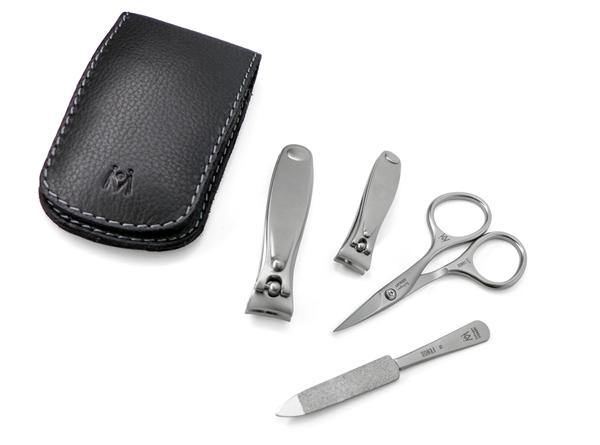
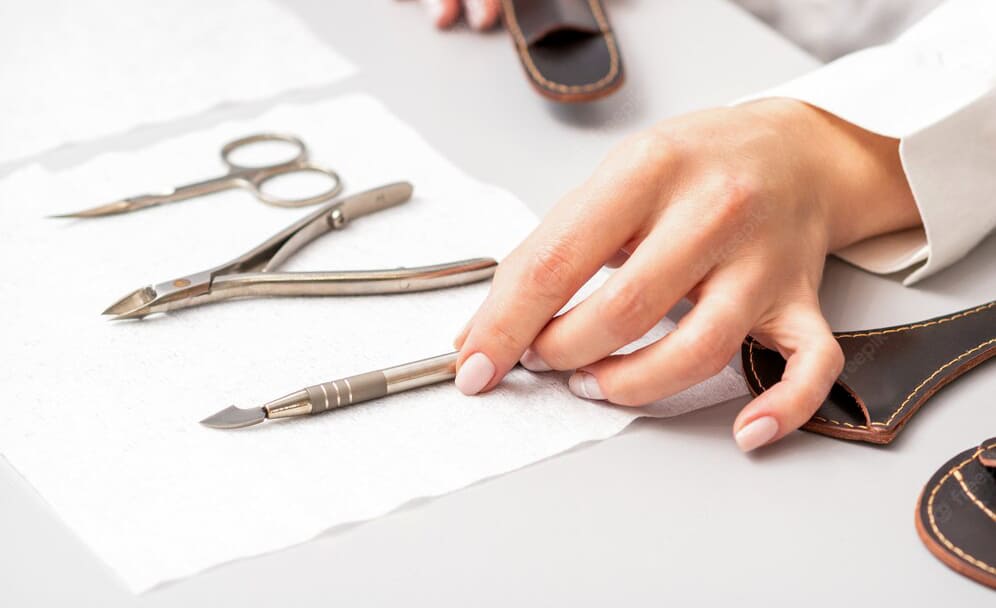
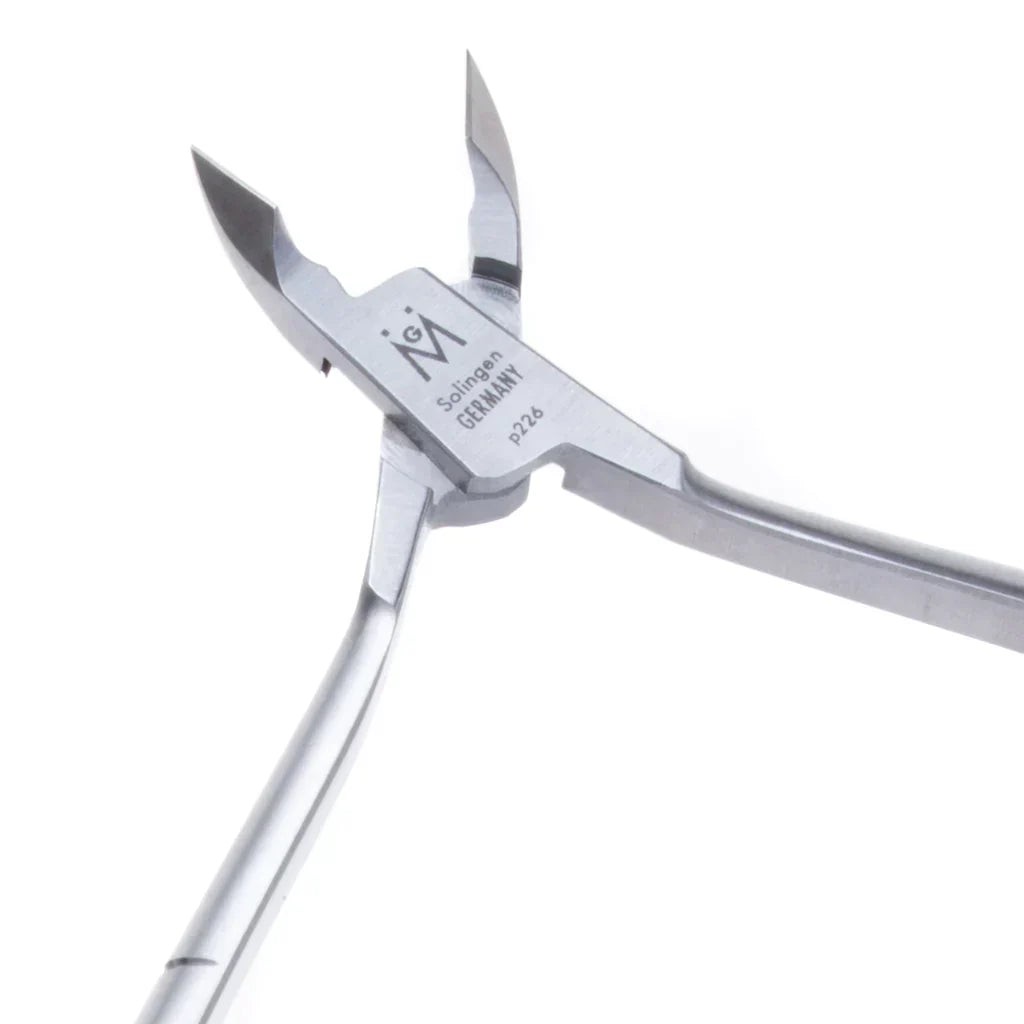
The professional manicure, pedicure, and beauty tools offered by Zamberg are the same implements used at leading salons throughout the world, and by nail teams at New York Fashion Week. These elite beauty tools are not the same tools you find at your local big box retailer, or most other online retailers. There is a difference – a big difference! If you are a nail professional just starting your career, or even a non-professional with discerning tastes for quality, why wouldn't you want to use the best beauty tools on the market? Especially when these professional beauty tools will end up costing you LESS in the long run! Our beauty care tools and equipment are highly competitively priced, and with normal use will stay sharp and last a lifetime. Cheaper made and lesser quality tools might last a year, or a month, or even a week. Is saving a dollar or two today worth losing out on hundreds of dollars over the years? And if you are a nail enthusiast of any skill level, you will be using the same tools as the finest professionals in the trade.
If you check out the Zamberg Instagram page, and the Instagram pages of some of our top manufacturers like GERMANIKURE and Niegeloh, you will see some of the A-list celebrities and events that have been assisted with our professional beauty tools. This alone shouldn't convince anyone of the Zamberg quality, but it will show that you will be in good company using our products.
TV Tip: Watch the new season of “The Marvelous Mrs. Maisel,” now airing on Amazon Prime. We think it's one of the best shows on television, and we love Rachel Brosnahan's nails! 😉